Custom Neon Signs UK – Design Your Own LED Neon
Create a personalised LED neon sign from your wording, logo or artwork. Choose the size, colour, font and backing, then approve your design proof before production. Start your design or request a logo sign quote.
- Custom options available
- Built for homes & businesses
- UKCA/CE certified LED neon

Custom Neon Sign (Glass Tube)


Custom Infinity Mirror


Office LED neon Sign


Custom Mirror Neon Sign


Custom Open LED Neon Sign

Custom Happy Birthday Sign


Custom Gym LED Neon Sign
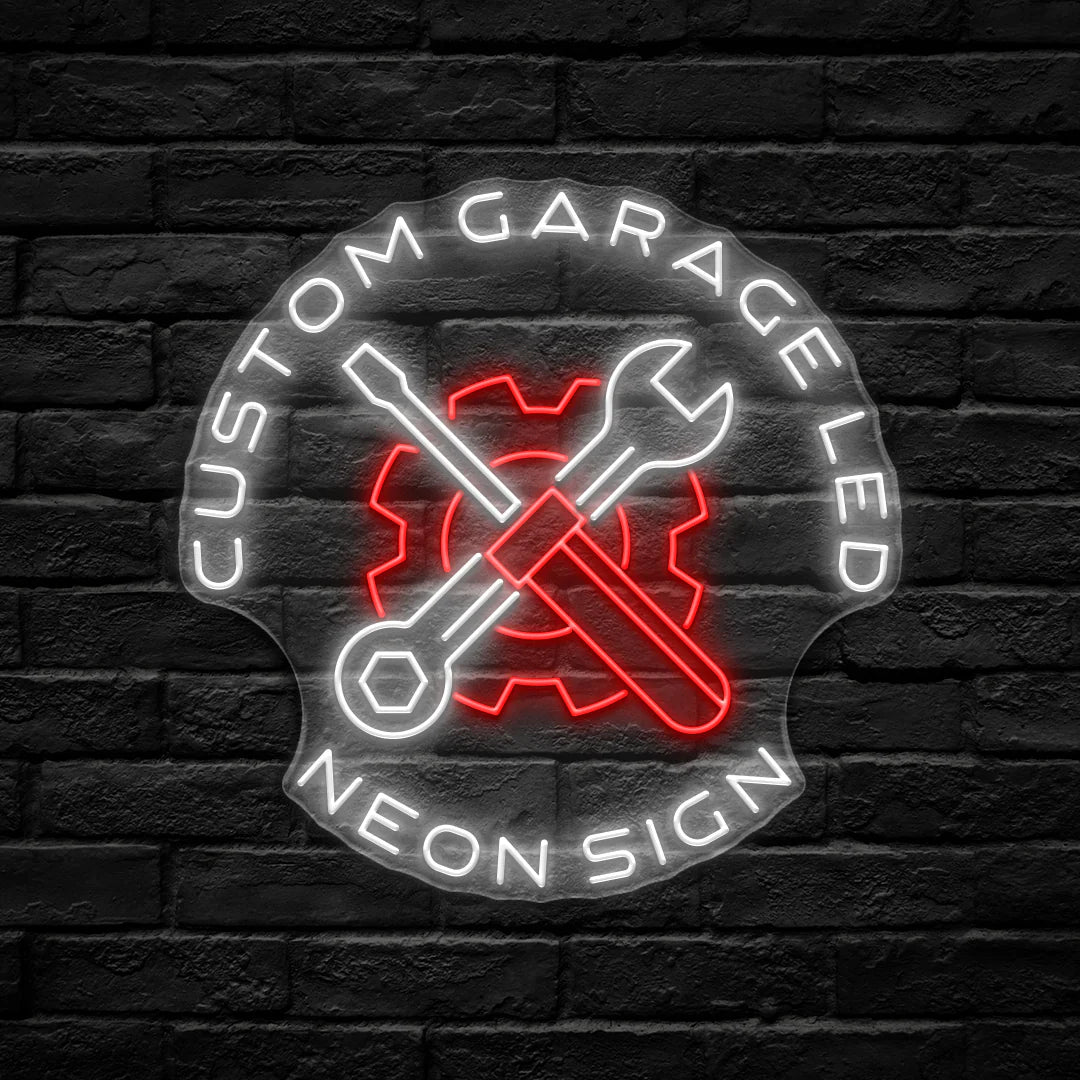
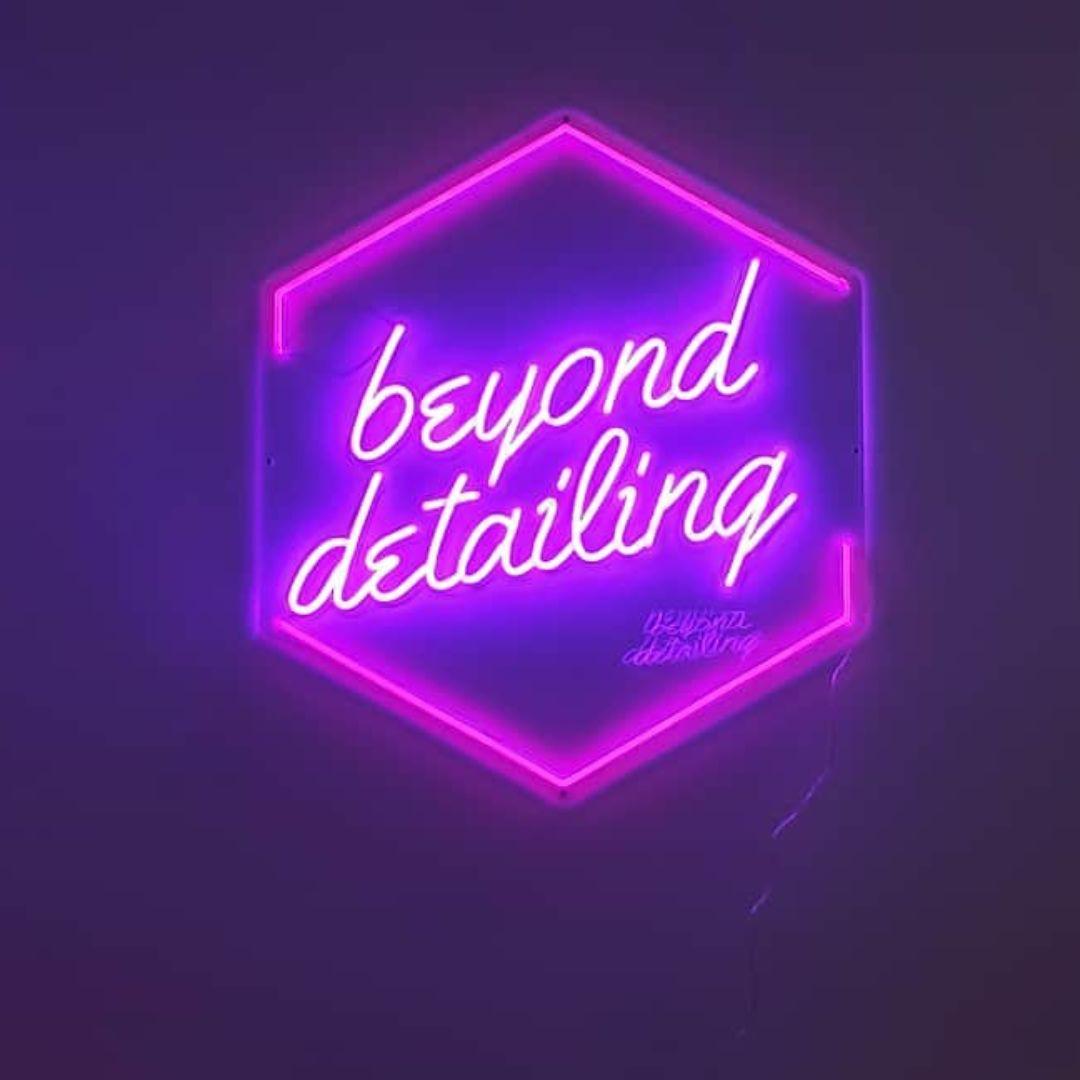
Custom Garage LED Neon Sign
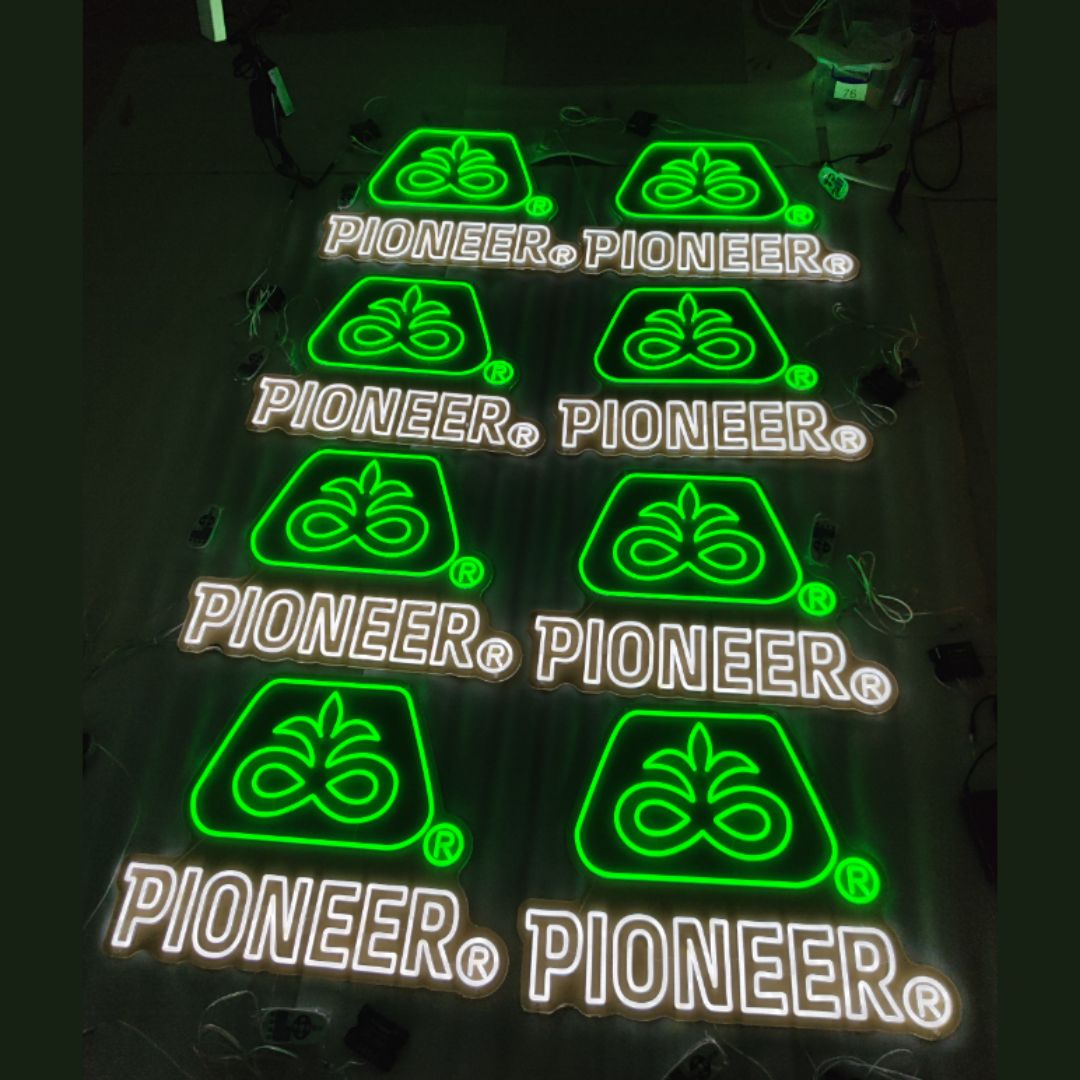
Wholesale Neon Signs
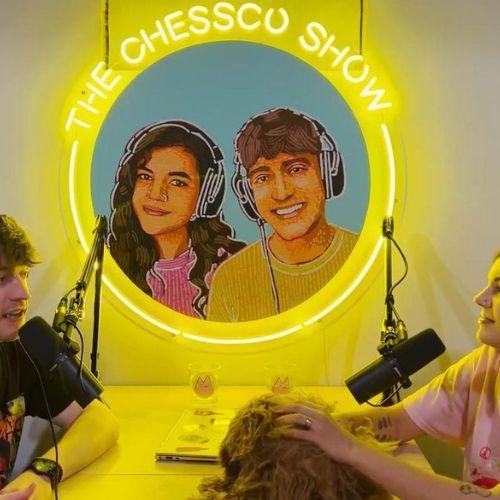
Custom Logo LED Neon Sign

Custom Wedding LED Neon Sign
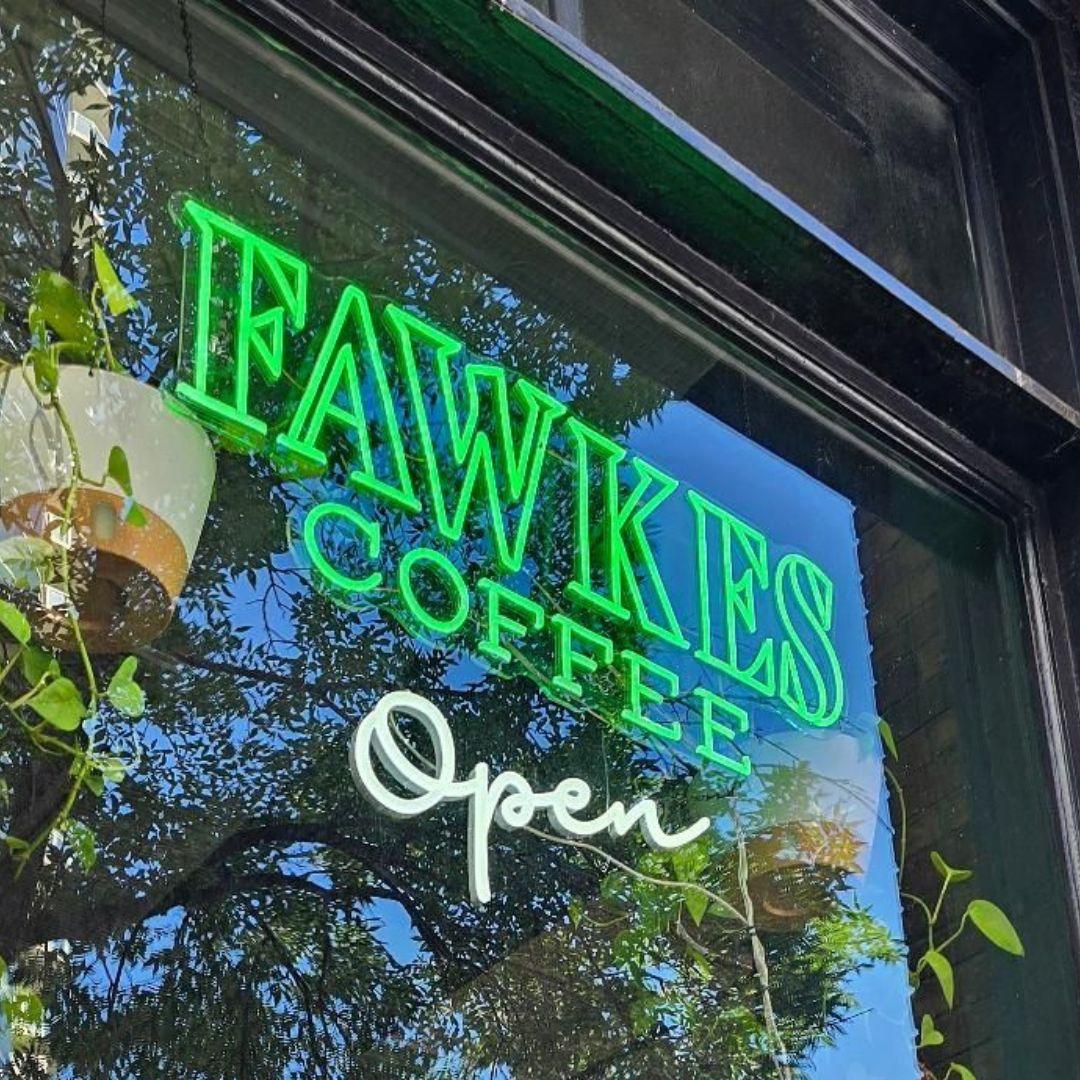
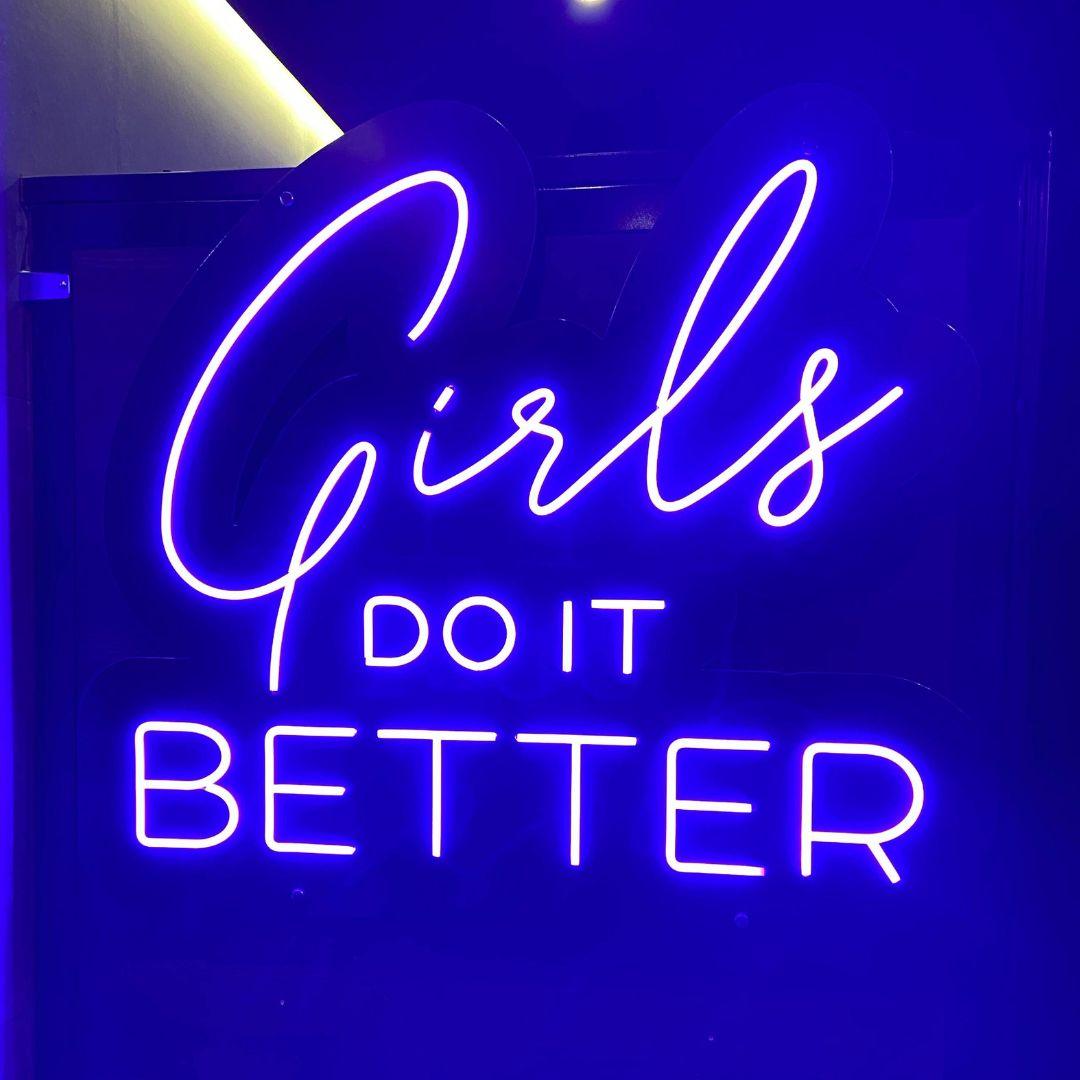
Custom LED Neon Sign
Custom Neon Sign Buying Guide
A custom neon sign works best when the design, dimensions and construction are chosen for the space where it will be used. This guide explains the main decisions to make before requesting a design or quote, whether you need personalised wording, a business logo, wedding signage or a traditional glass neon sign.
1. Decide Where and How the Sign Will Be Used
Start with the intended location. A sign for a bedroom, home bar or office has different viewing conditions from one used in a shop window, reception area, restaurant or event venue. Measure the available wall, window or backdrop and note how far away people will normally view the sign.
Also consider whether the sign will be permanently wall-mounted, suspended, displayed on a stand or attached temporarily to an event backdrop. This affects the backing shape, fixing points and cable position. If you are unsure, send a photograph of the installation area with its approximate dimensions.
2. Choose the Right Type of Custom Sign
For names, phrases and short messages, begin with the custom LED neon sign designer. Text-based signs offer the most flexibility in wording, font, colour and layout.
For branded artwork, use the custom logo neon sign option. Logos require an artwork review because thin lines, gradients, closely spaced details and very small lettering may need to be simplified for clear illumination.
For ceremonies and receptions, explore custom wedding neon signs. Names, initials, dates and short phrases can be designed to suit a backdrop, entrance or photo area. If you want the appearance and character of traditional neon, request a custom glass neon sign instead.
3. Select a Size That Fits the Space
Width is usually the easiest starting measurement. Measure the usable area rather than the entire wall, allowing space around the sign so the design does not feel crowded. For a sign positioned above furniture or a counter, compare the proposed width with the item beneath it. For event backdrops and shop windows, consider the viewing distance and how large the sign should appear in photographs.
The final height depends on the wording, font and layout. A short word may be relatively shallow, while stacked text or a tall logo will require more height at the same width. Share a target width and maximum height when both dimensions are restricted.
4. Prepare Text or Logo Artwork
Check all spelling, capitalisation and punctuation before approving a design. For text signs, provide the exact wording and indicate whether you prefer a script, handwritten, serif, sans-serif or block-letter style. A reference image is helpful when you want a particular look.
For logo signs, vector files such as SVG, AI or EPS are preferred because they preserve clean lines at different sizes. A high-resolution PDF, PNG or JPG can also be reviewed. Complex logos may need to be redrawn or simplified so that the illuminated lines remain readable and structurally practical.
5. Choose Colour for Visibility as Well as Style
Consider the wall colour, surrounding lighting and brand palette. Strong contrast helps the sign remain legible when illuminated and when switched off. Warm white creates a softer appearance, while cool white produces a cleaner, brighter look. Coloured LED neon can provide a stronger visual accent, but the best choice depends on the background and the atmosphere of the space.
If colour accuracy is important for a business logo, provide the brand colour reference and explain whether an approximate LED neon colour is acceptable. Illuminated tubing cannot reproduce every printed or screen colour exactly.
6. Select the Backing Style
Clear acrylic keeps the wall visible and creates a minimal appearance. A contour-cut or shaped backing follows the general outline of the design and reduces excess material. A rectangular or panel-style backing can make installation easier for some layouts and may provide more support for complex designs.
The proof should show the proposed backing shape, overall dimensions and fixing points. Confirm whether the backing will be visible against the installation surface and whether the sign needs holes for wall mounting, hanging or temporary event use.
7. Specify Indoor or Outdoor Use
Always state when a sign will be installed outdoors, near an entrance, in a window with potential exposure, or in another demanding environment. Outdoor projects require suitable construction and components. An indoor sign should not be assumed to be weather-resistant.
Describe the level of exposure, including whether the sign will be sheltered or directly exposed to rain and changing temperatures. Browse outdoor neon signs when the installation is exterior or partially exposed.
8. Plan Mounting, Power and Cable Routing
Before approving the design, identify the nearest power source and where you want the cable to exit the sign. A cable can be more noticeable on a clear backing, particularly when it crosses a contrasting wall, so planning the route early leads to a cleaner installation.
Confirm whether the sign will be flush to the wall, spaced away from it, suspended or mounted to another structure. For commercial spaces, also confirm any site requirements with the installer, landlord or property manager before production.
9. Review the Design Proof Carefully
The design proof is the point to confirm the wording, layout, proportions, dimensions, colour, backing and construction details. Check the overall size rather than judging only from how the design appears on screen. If a visual mock-up is provided, remember that it illustrates placement and scale but does not replace the stated measurements.
Request any revisions before approval. Production should begin only after the final design and specifications are confirmed.
10. Allow Time for Design, Production and Delivery
Standard lead time is 2 to 3 weeks. In most cases, orders are delivered within two weeks, but it is sensible to leave a buffer for design approval, production and delivery. For weddings, openings and other fixed dates, plan from the event date backwards and allow time for installation.
If the sign is required in less than two weeks, share the deadline before ordering so the available options can be assessed.
Information to Include With Your Request
- Exact wording or the clearest available logo artwork
- Preferred width and any maximum height restriction
- Colour or brand-colour reference
- Indoor, outdoor or partially exposed placement
- Backing and mounting preference, if known
- A photograph and measurements of the installation area
- The required delivery date and installation location
Ready to Start?
Use the custom neon sign designer for personalised wording, or request a custom logo neon sign when you already have artwork. For retail, hospitality, office or venue projects, you can also compare our wider range of business signs.